This week my wife (rockstar, clearly) completed the system I have been slowly building up over the last four years. She got us a REL T/5X subwoofer. Spoiler: it sounds amazing! I am so happy with it. It’s a great sounding, but perhaps odd, pairing with our Danish amp.
Edit 12/28: I am eating a little crow this week. There are some changes below as I switched back to the Lyngdorf DSP method.

As I was trying the different ways to pair the sub with the rest of the system, the weirdness of this combination hit me. We have the “baby” Lyngdorf TDAI-1120 digital amplifier, which is a small integrated that is just about as digital a piece of audio gear as you can buy. It’s basically a computer plus DAC that has a power output stage. It’s 100% all-in digital signal processing (DSP) including not just built-in streaming, but digital room correction and EQ. It appears on our home network like a computer, and you control it through a built-in web interface.
| Amplifier | Lyngdorf TDAI-1120 |
| Turntable | U-Turn Orbit |
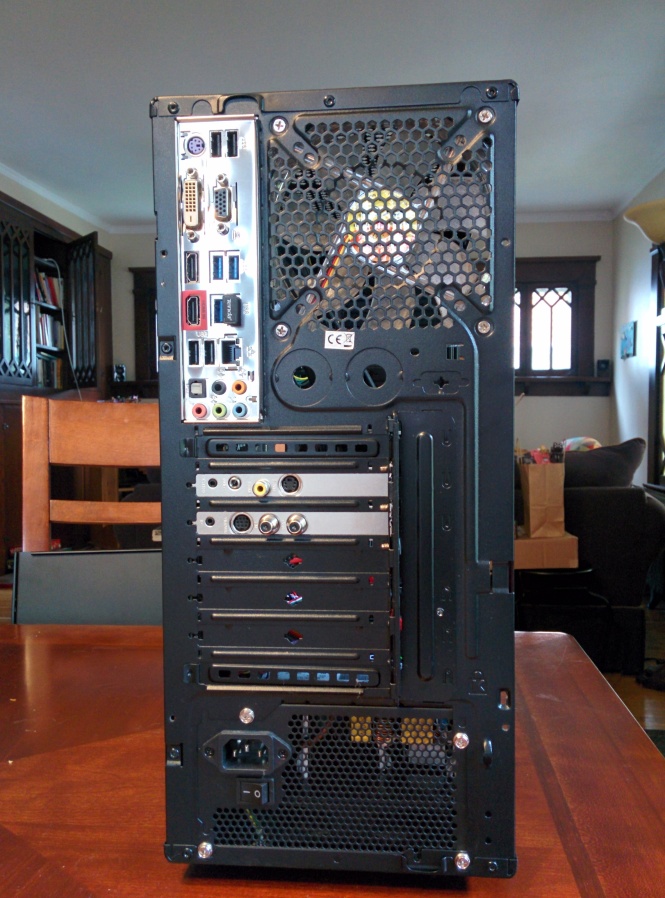
| Streamer | Home-built PC (remote, to control noise) |
| Speakers | Q Acoustics 3020i |
| Subwoofer | REL T/5X |

One thing that has driven the selection of our components is that, as you can see in the photo, we are very constrained in terms of space for the “front wall” of the system. Our listening room is a small den which has four doors – two for passing through the room, but also one to a coat closet (to the left of the TV in the photo) and half bath (right). I wanted some modern, good looking speakers, but they had to be bookshelf size to fit in the available space, and ideally mobile so we could pull them out to a better location acoustically, but store them safely against the wall. The Qs and their matching stands are a perfect solution given the constraints.

Even though the 3020i’s are relatively deep for a bookshelf speaker, and ported in the back, there is no way around the physics of a small speaker. They can fill our small room and they sound pretty good, but together with the Lyngdorf amp I don’t think you would call the sound “muscular.” They can only move so much air at bass frequencies.
This is where the REL comes in, obviously. Without an unlimited budget or unlimited time to audition equipment I readily admit that I picked it on reputation and reviews, but it seemed to fit my priorities. This is a music first, two channel system that we also use for our TV. I didn’t want some booming car-audio style woofer, but something that would just fit in seamlessly, fill out the bass and not draw too much attention to itself.

We listen to a very eclectic mix of music, so I want the system to sound good with good recordings and poor recordings. My wife needs something like a live performance of Pearl Jam’s Given to Fly to totally rock, and I listen to stuff from Mandolin Orange’s super quiet acoustical work, to southern rock and Americana to Brandi Carlile’s gigantic vocals, to hip hop to classical music. Our son is a jazz musician, so lately I have been listening to a lot of jazz too. And we have no format allegiance – records, Tidal, purchased digital downloads, ripped CDs, anything goes.
Every review puts the REL T/5X in that category, and boy it delivers.

So why is this pairing strange?

I had always assumed I would use both the bass management and room correction features of the TDAI-1120 once I was able to purchase any subwoofer. But as much as this amplifier is digital, the REL is analog, all the way down to the genuinely strange three lead wire they ship with it to connect to your speaker-level binding posts.
In assembling the two together I quickly learned the details of the available methods to get a signal to the REL. The Danes (TDAI-1120) want you to reconfigure the outputs in the amp, through the web interface, to send front speaker output to the two regular channels and dedicated sub output to the RCA jack, so that their DSP can high-pass the speakers and low-pass the sub. This has the advantage of taking the burden of full-range sound off the front speakers, and the amp itself, and passing that off to the separate amp in the subwoofer.
But the Brits (REL) very, very much want you to send the full-strength speaker signal to the by now semi-famous analog crossover circuit that they provide inside the sub, bass management be damned. It’s actually almost comical how many times in both the subwoofer manual and the manual for the wireless module they try to persuade the new owner. “Just trust us. You want to use the high-level signal.” This level of repeated hints and persuasion is an effort to overcome the frankly janky/slightly scary prospect of hooking up that weird cable’s three bare wires to the speaker outputs.
So I tempered my rush to get listening and tried both methods. In case you are the one other person on the planet trying to combine these two components, here was my experience.

The first thing I tried was the digital method, REL-manual exhortations to the contrary. I connected the left preamp RCA output (the sub out) from the Lyngdorf to the REL wireless transmitter’s RCA Low Frequency Effects “LFE” input. From there the signal goes wirelessly to the subwoofer and acts as if it were plugged into the LFE input on the unit itself. According to the manual I thought this should bypass the internal crossover circuit and allow the Lyngdorf to tailor the signal to the right range of frequencies. This was a mistake, I think, but more about that later.
Edit: Narrator: This was not, in fact, the mistake. There was a mistake made, but it was a different mistake.
Here I have to insert an aside and just say the connection of these components is not helped by the alphabet soup of different connections and acronyms. The back of the REL unit is a little baffling. However, the paper manual in the box is somewhat helpful in decoding them, though I had to read it over a few times. If you follow the setup procedures, then the strange language (high level, low level, LFE, Low .1, High/Low Level, Home Theater Reference etc.) does start to make sense. So do read the directions!
Sweet, Sweet Digital Bass Management
I went through the Lyngdorf setup routine as if the system had two front speakers and a separate subwoofer, basically making the design on the amp’s web interface mimic the physical speakers. I set the crossover points for both, appropriate to the bottom range of the front speakers, 80 hz. I then ran through the room correction routine, with the Lyngdorf’s mic sampling the room. This is the textbook setup that would align with the philosophy on the Danish/digital side of this divide.
The result was … not great. There was a lot of low range bass, but it was boom-y and intrusive, and there was a gap between the low frequencies and the midrange of the music. I want to be clear, though, that I don’t think there’s anything wrong with the DSP bass management or the REL – it’s more a disagreement between these two components. But sound is sound, and this was not sounding right.
Edit: This was actually the mistake!
Here’s what happened. I was in a bit of a rush, but sub integration takes time. I put this together quickly, and then played one of my favorite tracks, a live performance of Whiskey Legs from the Tedeschi Trucks band. As it turns out, and after a whole lot more listening to different tracks and genres, and reading up, I have concluded that that specific recording has something unique going on with it, perhaps an interaction with the room, the placement of the sub, or unusual EQ. That caused this outsized booming bass kick drum.
I have since changed course and returned to connecting the REL with the LFE input, through the REL wireless module.
OK, OK, Hook up That Weird Cable.
My next attempt involved a deep breath and that three lead, speaker level REL cable. Here I have to note that Lyngdorf warns against connecting a high level signal of this type, so proceed here at your own risk.
First I looked online to double check what you really are supposed to do when unpacking the thing, because it has this strange arrangement of insulation on the end. I am really glad I did. This video is helpful in explaining what the arrangement of insulation on the wires is about:
Using the technique in the video above, I connected the REL wiring to the Lyngdorf left and right red binding posts and the black wire to the phono ground screw, as suggested in their instructions for digital amps.

I then plugged the finished end of the REL cable into the jack on their wireless transmitter and removed the RCA subwoofer-dedicated cable. (When I turned it on, I was getting a hum from the sub at this point, which I was able to track down to failing to rotate the blue plug in the jack to seat it fully – you have to turn it about 1/4 turn until it fully locks in place.)

At this point what you have to do with the Lyngdorf is a little counter intuitive. You have to pretend the sub does not exist and put it back into the original two-channel, front-speakers-only, full range setup:

The reason is that the REL will “lift” the full range of music off of the speaker cable signal. If you were to specify that there’s a sub or high-pass the front speakers, which means filtering out bass, then the sub will not “see” the low end of the audio signal.
Having done this, a sample of music sounded much better. It was more like the sub was just reinforcing everything instead of going BOOM BOOM with every kickdrum hit.
Now we were closer. I made some adjustments to the level and the crossover physically with the knobs on the back of the REL, by ear. It’s doing all the crossover work at this point. Then I re-ran the RoomPerfect room correction software with the Lyngdorf mic.
You may be wondering, without using the digital signal processing (DSP) bass management feature, can you still use the room correction function, and the answer is absolutely yes. The three speakers (left, right, and sub) just act as if they were some setup of two-channel audio with more capable bass, perhaps a set of bigger floor-standing speakers. Room correction and bass management are not mutually exclusive.
So now these two are sounding amazing together. Chocolate and peanut butter, or whatever analogy you want to apply.
In retrospect, and apologies if I don’t get all the engineering right here, I think this is the issue:
The REL itself, using hard wiring, has a total of three types of input, confusingly named Low Level Input, High Level Input, and Low Level .1 Low Frequency Effects (LFE). Further, the three inputs are presented in two “groups:” Low Level Input alone, and High Level Input and Low Level .1 Low Frequency Effects (LFE) together, which are named in combination as REL Theater Reference.
Low Level Input
This is one of two RCA connections, and this would be the one to use bass management from a digital device like the Lyngdorf or a Blue Sound device, etc. But it’s not supported by the wireless interface, so I don’t think this is an option for me given my room.
Edit: This is basically correct except for the comment that this input is preferred. It’s the LFE input below that is best for bass management using the amplifier.
High Level Input*
This is the speaker level input and cannot be used with bass management in the amplifier. It can only use the built in crossover in the REL. But that crossover is excellent, so functionally this works really well, even with a digital amp.
Edit: This is not supported by Lyngdorf and (my assumption) could void your warranty. REL seems to continue recommending it though.
Low Level .1 LFE*
This is the other RCA connection, but it is specifically for home theater bass effects and does not work well for music.
(However, it is supported through the wireless interface in case you wanted to use it for watching movies, etc. The theory is not to use this connection or the High Level for music, but rather for home theater to use this with the High Level input, when your amp has a “.1” bass channel specifically for movies, and the movie soundtrack as a .1 channel. My amp is only 2 channel and has no home theater aspirations.)
Edit: Here my understanding was really incomplete. Take two.
LFE is confusing because it means two subtly different things. The real/original meaning of Low Frequency Effects (LFE) is that it’s the name of a channel in home theater audio multichannel audio signals. This is sometimes called “point one” or “dot one” from home theater labels like 5.1 channel surround sound. The idea is to have a movie with a dedicated channel for low bass, to handle explosions and helicopters and such.
The second and perhaps less correct meaning of LFE is that it’s a label on an input to a subwoofer (or a setting on the input controls of a subwoofer). On the REL itself and on the REL wireless transmitter there is a jack called .1 LFE. While thought of as being designed to connect to this home theater channel, what this in fact means is “bypass the sub crossover and pass the signal straight from the amplifier.”
This excellent Lyngdorf video talks about the LFE channel, and cleared this up for me: https://youtu.be/HfpVMgXcFd0?feature=shared&t=75
With regard to the REL, the .1 LFE input has only a 120hz and above filter on it, which is not harmful, and the reason for it is explained in the video above. It also has a dedicated volume knob. The important thing is it bypasses the other REL crossover circuitry, actually making it perfect for integrating a sub using the amplifier’s bass management, despite the label.
A better label for this physical input might be “unmodified signal up to 120 hz.”
*Only two out of the three input methods, the ones shown in blue and together called REL Theater Reference are supported by the REL wireless connection.
In Summary
So what I think this means is that you have to choose between either:
Running wirelessly, not using your amplifier’s digital bass managementOr running an RCA cable from your amp’s subwoofer out to the REL Low Level Input, which would enable bass management.
Edit: This was only partially correct. Better:
- Running wirelessly over the sub input labeled “.1 LFE” but using that to carry the bass-managed signal from the amplifier to the sub. Ignore the label, and understand it to mean “unmodified signal from the amplifier up to 120 hz”
- Running an RCA cable from your amplifier preamp output to the sub and not using the amplifier’s bass management, using the sub’s physical analog controls for crossover. You cannot high-pass your front speakers this way, but that might be fine depending on the details of the speakers.
- Taking a risk of damaging the amp, per Lyngdorf, and connecting the high level path through the REL wireless connection. I didn’t experience any damage from doing this out of ignorance, and it did sound really good, but there is probably a reason for the manufacturer’s warnings, and having slept on it I decided I don’t like taking the risk.
But you can’t have it both ways, I don’t think.
Happy listening